Reaper Effects: How To Add Effects To Audio In Reaper
Here is how to apply Reaper effects to an entire track of audio.
Reaper is my favorite digital audio workstation (DAW). I use it for all kinds of recording from music to voiceover. But no matter how you use Reaper to record and edit audio, you need to understand how to apply effects.
What is an effect?
An effect is a way to change audio for some reason. Reaper effects are applied using the shortcut moniker “FX.” So in case you were in any doubt, FX and effects are the same thing.
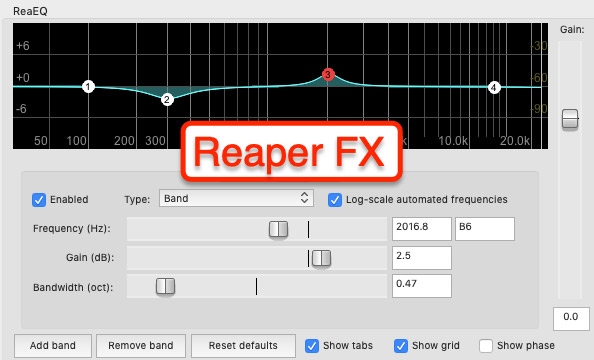
Some examples of common effects include EQ (equalization), compression, reverb, and noise reduction. But there are literally hundreds of effects available in Reaper.

Even virtual instruments are considered effects in Reaper. As with all Reaper effects, you apply them to a track by clicking the “FX” button on the track control panel. See pic above.
Adding an effect
You normally add effects to the complete track. So all the audio items (you can have many different items on a single track) receive the effect. To add an effect:
- Click on that “FX” button on the track control panel (track header) on the left side of the track. That will open the list of available effects.
- Choose the category of effect you want from the left panel (VST, AU, instruments, etc.). Or just click “All Effects” to see everything available, which you will see in the right panel. See pic 2.
- Select an effect and click “OK” in the bottom of the effect window.
- That effect will now be applied to your track.
- Click on the FX track button any time to edit the settings of your effect.
See video below for how to apply an effect in Reaper.
Render the result to “print” the effect to the audio
DAWs use “non-destructive” editing. That means that the underlying audio file will not be changed no matter how many effects you add to the track. This means that you can turn the effect on and off at any time in Reaper. Just click on the FX button to turn the effect off. The button will turn red to indicate that you are NOT hearing the effect on your audio. This is handy for hearing how the effect sounds compared to the raw audio.
But if you want the final audio to have the effect applied permanently (usually called “printing” the effect), you need to render the audio.
So when you’re happy with how the effect is making your audio sound, just go to File/Render. There you’ll be able to save your audio as a wav, mp3, or other audio file type. Then just render it to a folder on your computer, and you’ll have a final, payable audio file to share.
Is there more?
Yes, there is much more great stuff on how to use Reaper effects. I’m making this a short series. The next post is how to use FX on small audio sections on a track, rather that applying the effect to ALL the audio. You can find that post here: Adding An Effect To Just Part Of An Audio Track In Reaper
Free videos from “The Newbies Guide to Audio Recording Awesomeness”

I cannot get rid of the latency. Its so frustrating. I have tried everything I have watched and read.
What kind of interface and mic are you using? What recording program? What operating system?