Ah, the pc recording studio. So many folks have one, yet so few use it to its full potential. Have you ever noticed that sometimes, a really professional-looking website with cool graphics and slick videos, will have audio content that sounds crappy? What’s with that?
It seems like lots people have set up computers to record in their homes or offices, but they don’t seem to know how to create really good sounding audio, even though it is possible to do it with just a little knowledge…and not even hard knowledge. The home recording tips you’ll find at Home Brew Audio will help tremendously.
I think it has something to do with myths that still linger in the zeitgeist from the old days, when audio recording was the realm of tech geeks who did electrical engineering projects for fun. The gear needed to do professional recording back then was expensive and bulky. Most recording engineers couldn’t even afford their own gear. They mostly worked for studios with their own funding (universities, record companies, etc.).
But that has changed drastically in the past 10 or 15 years. With computers able to do so much, and digital recording (that’s as opposed to the tape recording needed in the past) being the norm, literally anyone with a computer can create good quality audio without having to spend much more than $59 or so on a moderate USB mic like the Samson Q2u USB microphone. So why is there still so much crappy audio out there?
Okay, I suppose we should have a definition of crappy, where audio is concerned. Here’s my definition: audio that sounds thin, echo-y & “far-away” sounding, noisy, hard-to understand, full of p-pops and other bass-y bumps and bruises (called “plosives,” for those who want to know) when the speaker/singer says certain kinds of words, or any combination of the above. Some may quibble with that definition, but I find it to be quite descriptive of common audio problems.
So that means that, by contrast, good quality audio should be full, clear & up-front, clean (free of any sound except the thing you want to hear), easy to understand, and free of audio glitches like plosives and hissing, and overall natural-sounding.
Some of the above requirements for good quality audio are not easy to obtain without fairly good gear, thus would be hard to do with that $25 or less set-up I mentioned. But some of the most important factors, like reducing/eliminating the “echo-y & far away” thing, ARE do-able even on the low-cost pc recording studio. Here are three tips that will drastically improve your audio regardless of how cheap your set-up.
Get Close to the Mic
Generally speaking, your mouth (assuming voice recording) should be quite close to the microphone in order to get the best and clearest sound, anywhere from 6 to 18 inches away is about right.
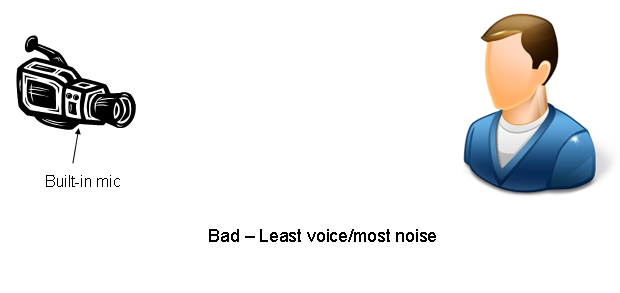
If you are recording a video, and the speaker is 10 feet away from the mic on the camera, the result will be what I call echo-y & far away sounding. The reason is that the voices has such a long distance to travel that by the time the actual sound from your mouth reaches the microphone, it has also bounced off of every wall, ceiling, floor, table, etc. in the room and created copies of itself.
Those copies are getting into the microphone too. In visual terms, it would be like trying to film someone in a house of mirrors. Everything is all jumbled up and it’s hard to tell the real person from the reflections.
One easy answer to this is to get close to the mic. If your camcorder has an external mic input, use it!
Get a microphone by your lips and run the cord to the mic jack on the camera. If the camera doesn’t have an external mic input (hard to find for some reason), just hook a mic to your computer and speak into that while filming.
Then when you edit the video, add a track for the extra audio you recorded on your computer, synchronize it with the audio from the camera (the echo-y audio), then delete the camera audio track.
Get a Pop Screen
Mics are sensitive to wind. Certain consonant sounds in speech (like “P” for example) called plosives, cause a burst of wind into the mic if you’re close to it.
The result is a muddy, unpleasant rumbling or bumping sound in the audio. One way to reduce or (preferably) eliminate this is to put a screen between your lips and the mic.
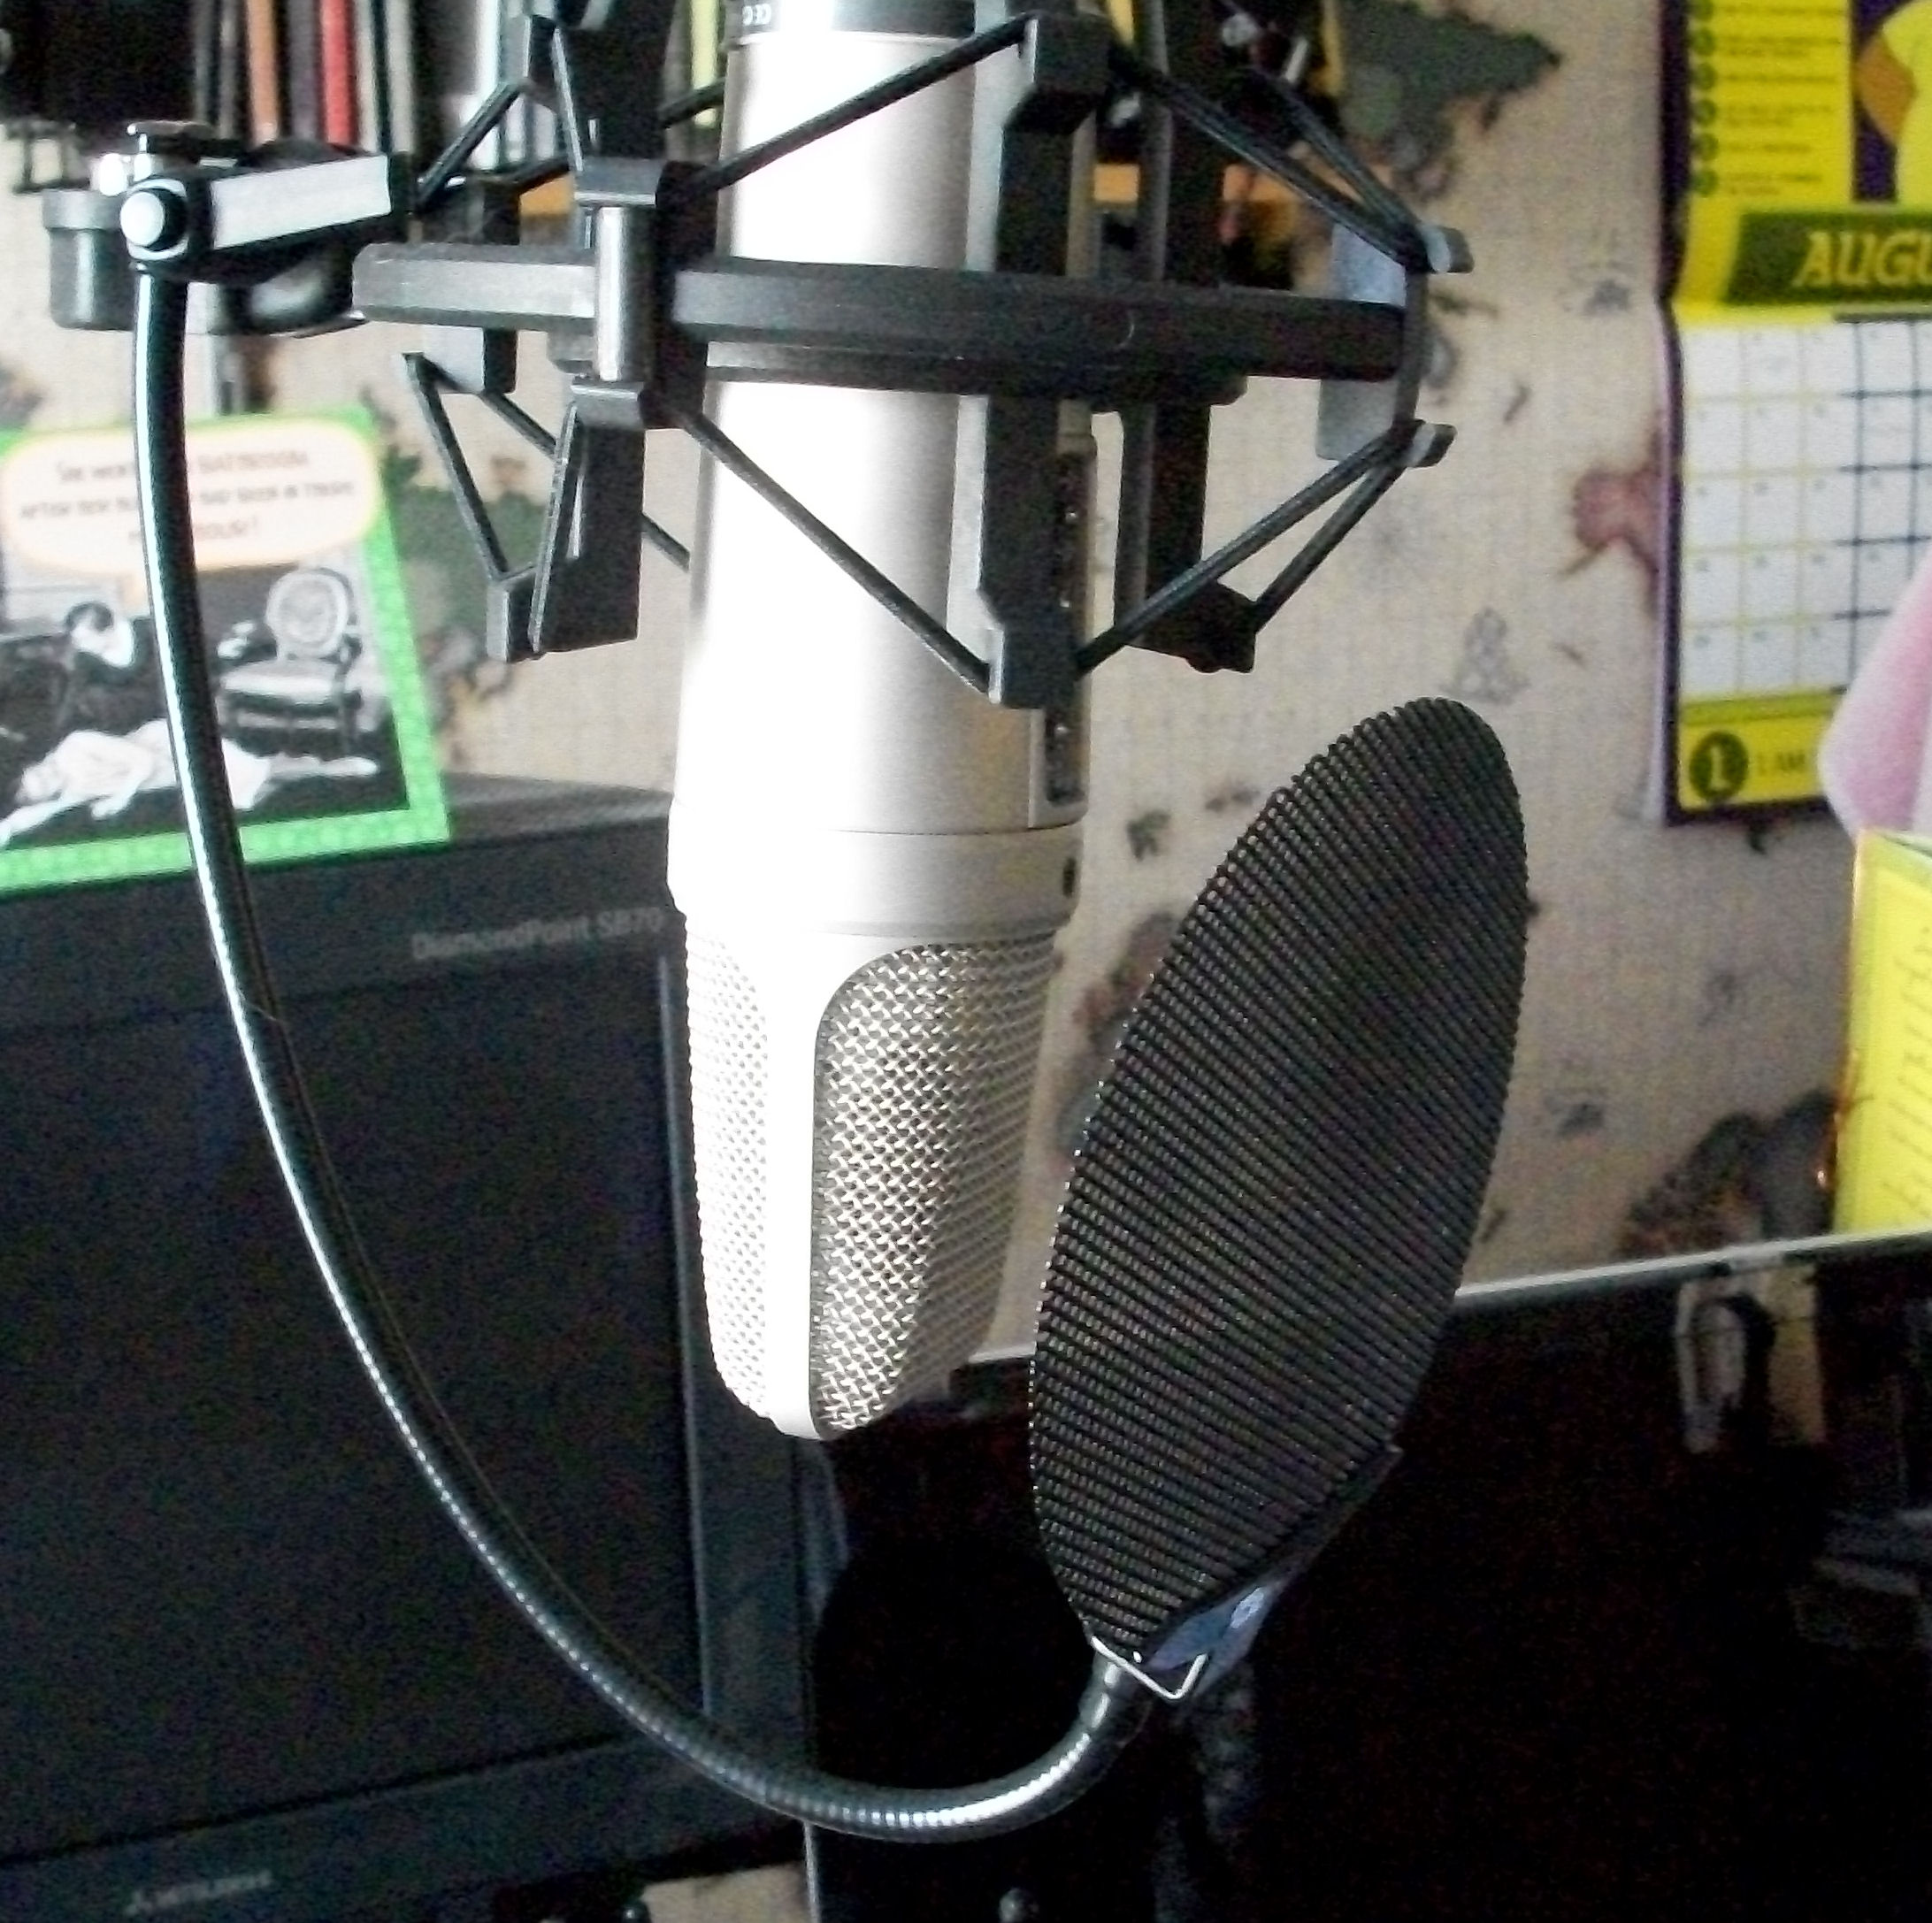
You can buy these screens, called pop screens, or you can make them yourself with some used pantyhose stretched over a wire hanger you’ve bent into a circle or square-ish shape. For good measure, you can try to be aware of consonants that cause plosives and try to minimize the amount of air you spit into the mic. This is one of the pop filters that I have used for years: The sE Electronics Metal Pop Filter, which is the one in the picture.
Fix It After It’s Recorded
Without spending a dime, you can edit your audio after you’ve recorded it, using free software from the web. One such program is called Audacity, which is open-source.
You can use editing tools like EQ to reduce or eliminate the plosives that DID get recorded, as well as improve intelligibility, reduce noise, etc. Audacity can do amazing things. There are other audio editors out there too.
But if money is an issue, it really is hard to beat Audacity for the price. If you can afford to invest a couple hundred bucks into recording, you can use what I use, which is Adobe Audition.
The above tips can be applied by anyone, without having to be an engineer and without having to spend much, if any money at all. If you want better audio…more professional audio, keeping just those 3 things in mind will improve your audio greatly.
If the tip about editing audio in Audacity sounded scary and technical, don’t worry. It’s actually pretty easy. You can find video tutorials at Home Brew Audio that walk you through it. Anyone can understand it.
So go forth and do no more audio harm. It won’t cost you much, if anything. Knowledge trumps gear.
Beautiful blog post mate, I totaly enjoyed this page. I’ll be sure to tell this to my brother who would, odds are, love to check out this post too. Found this sites blog through the AOL search engine by the way, incase you were curious. Great read!


3 Must-Know Tips For Getting Quality Audio From
Your PC Recording Studio – Full article below. https://fb.me/zkQCZfpD
I really wish more home recording tutorials were geared toward beginners who aren’t necessarily techies.
Wicked post! I didn’t think it was possible to get good audio like that. Thanks.
JH
Beautiful blog post mate, I totaly enjoyed this page. I’ll be sure to tell this to my brother who would, odds are, love to check out this post too. Found this sites blog through the AOL search engine by the way, incase you were curious. Great read!
I’ve bookmarked https://www.homebrewaudio.com/3-must-know-tips-for-getting-quality-audio-from-your-pc-recording-studio at Digg.com so my friends can see it too. I used Getting Quality Audio From Your PC Recording Studio so it was a good title.
3 Must-Know Tips For Getting Quality Audio From Your PC Recording Studio https://t.co/YCmuLcq via @en